They are fun to make, and a great way to use up scraps. Check out my tutorial, and get a head start on next year's presents!
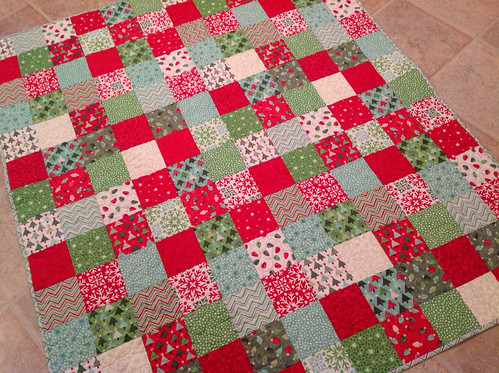
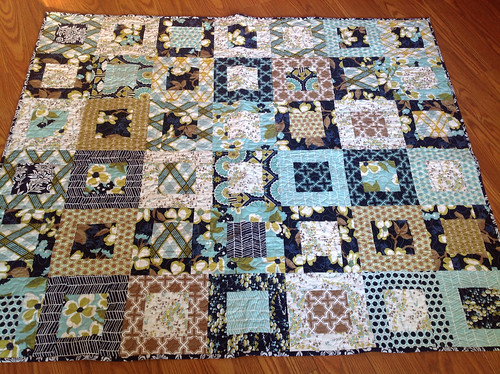
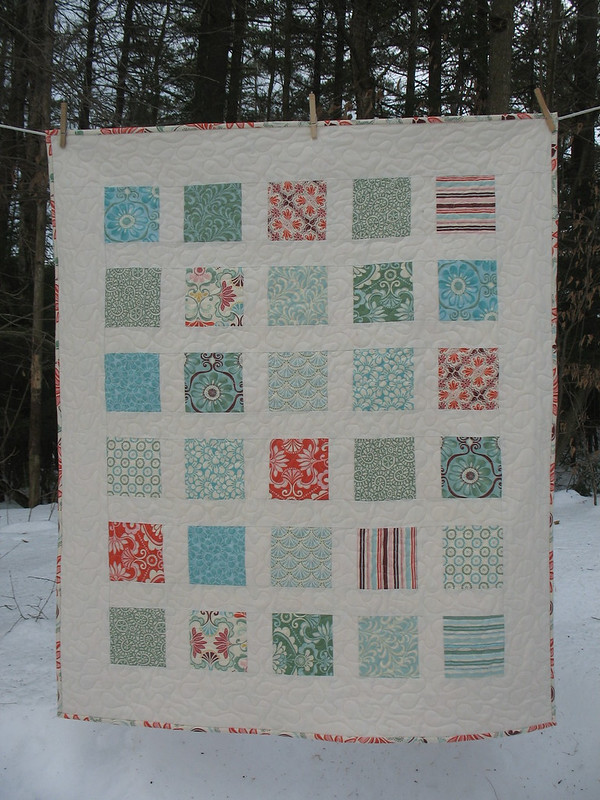
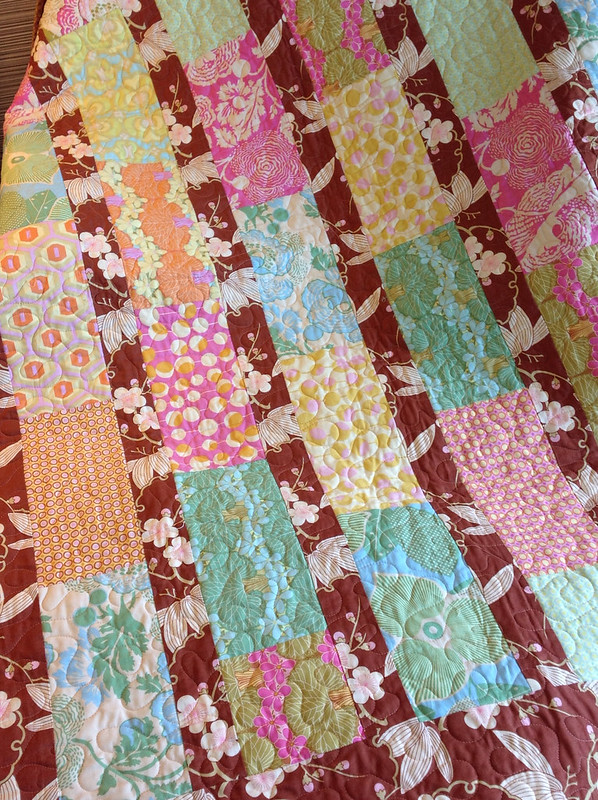
Yesterday, I shared a quilt I made for my daughter's twin bed for Christmas. Today, I'm sharing a tutorial on how to make a matching full-size pillow sham from leftover charm squares.
You will need:
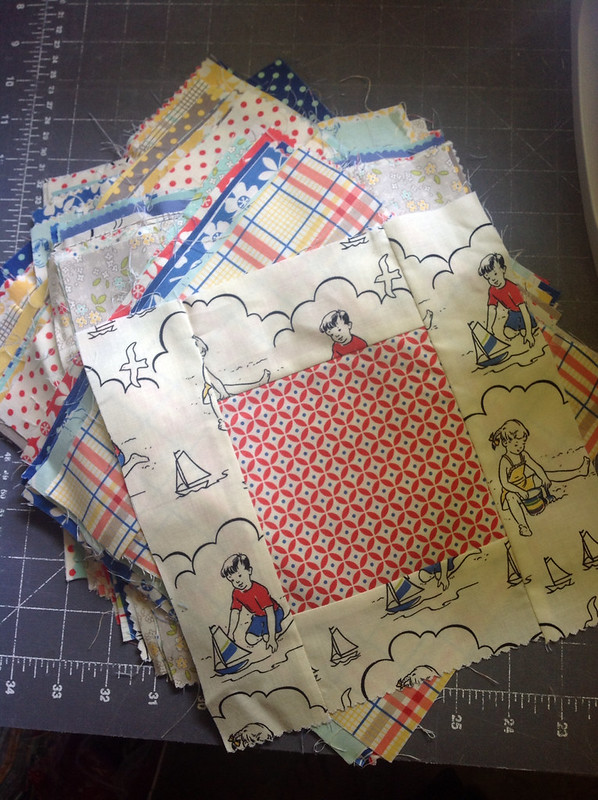
24 charm squares (or 30 if your pillow is pretty fluffy -- I'll explain below!)
Approx 1/2 yard to 5/8 yard of fabric for backing (again, fluffiness factor!)
20 x 28" batting scrap (I attached several smaller batting scraps together with a zig zag stitch)
20 x 28" piece of fabric (this will be hidden on the inside)
Optional: binding strips (three 2 1/2 inch x width of fabric strips should be plenty)
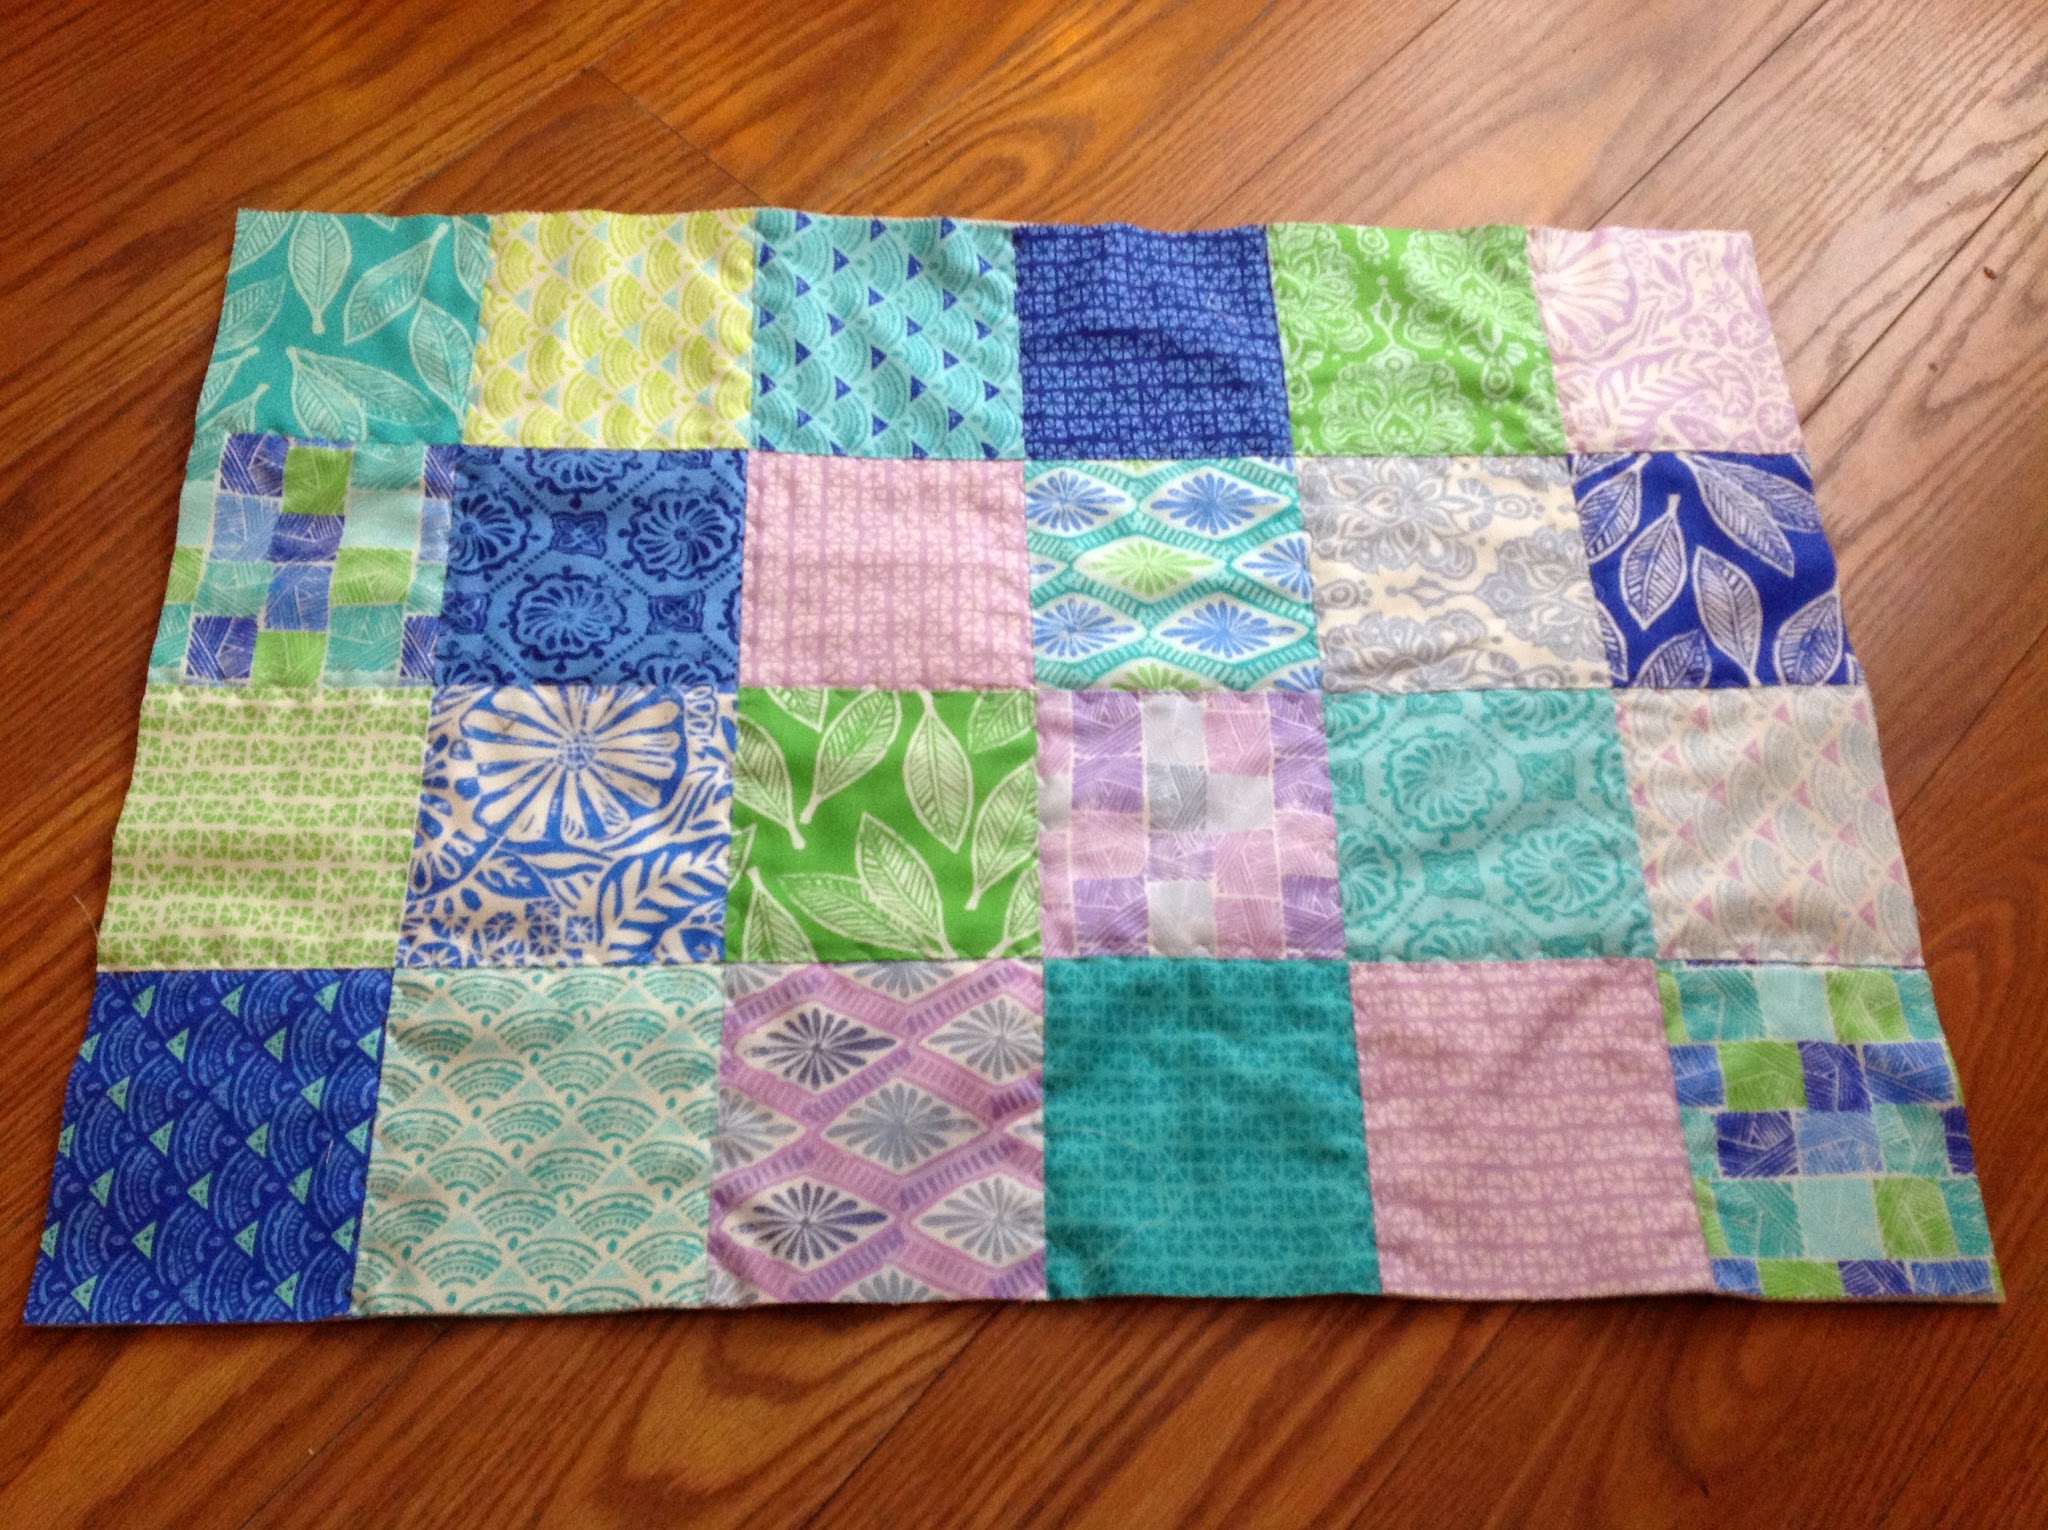
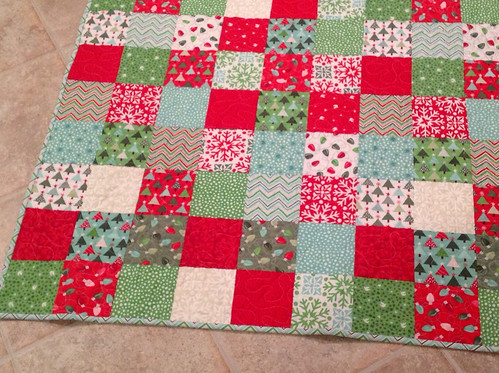
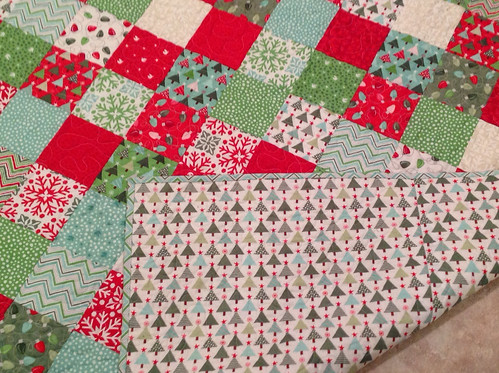
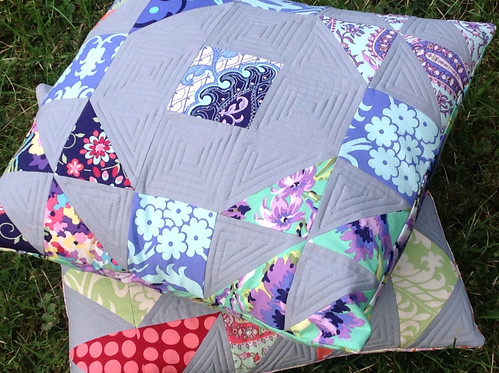
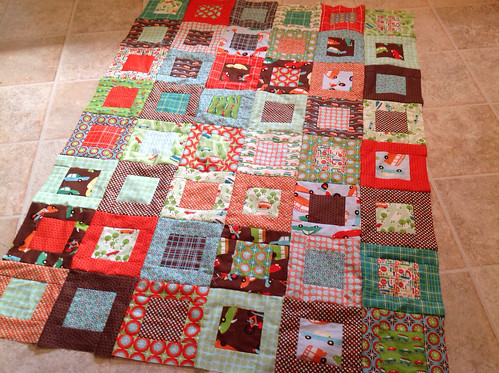
Sew your charm squares together in 4 rows of 6. To quilt the front of the sham, I layered my pieced charm squares, batting and scrap cotton piece and used a decorative stitch through all of the seams. (Note: photos were taken after I quilted and trimmed off the excess backing and batting!) You can see the stitch better from the inside view (below). You could also quilt 1/4 inch on either side of the seam, or practice your free-motion quilting if you prefer!
I did trim the length of the quilted piece 3/4 inch on either side before assembling the pillow, so my final measurement was 18 x 26". If your pillow is fluffy, make five rows of six, and after quilting, trim 3/4" off both sides of the length, and about 1 1/4 inches off the top and bottom. This should yield the standard 20 x 26" measurement.
For your pillow backing, measure the width of your pillow (mine was 18") and cut two pieces 18" (or your width) x 18". Disclaimer -- I actually cut my pieces a little extra long, which made the pillow a bit tricky to stuff inside. I also was lazy and used the untrimmed selvege edge instead of hemming the two envelope flaps! Normally, I turn under and stitch a 1/2" hem on the two envelope flaps before assembling the sham. If you are using directional fabric, be sure to put the hem on opposite sides (otherwise one of your envelope flaps will be upside down)! Lay the first envelope flap, right sides together, over your quilted sham top.
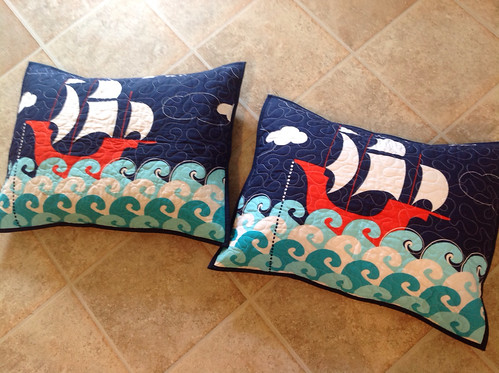
Lay the second envelope flap on top and pin. Stitch around all four edges (I used a 1/4" seam, but you can go a little wider, especially if you are working with the 20" x 26" size. Turn inside out and admire your work!
Hope you enjoyed this tutorial!
I hope you enjoyed this journey of 25 Quilts in 25 Days. I also have some fun posts scheduled for the remainder of the month, including a pillow sham tutorial, some Christmas stockings, a pattern sale, and of course, my final monthly collage of finished quilts for 2014!
This year, I decided to do a retrospective of many of the quilts I completed in 2013. I had lots of fun going through my photos, and playing with the Pic Collage app. Inspired by the song "The Twelve Days of Christmas", here is my "The Twelve Months of Quilting, 2013". Enjoy!
In the twelfth month of 2013, my true love gave to me..
Twelve "Hip to Be Square" quilts...
Eleven patchwork squares quilts...
Ten "Bonnie and Camille" quilts...
Nine Ahoy Matey and Vroom quilts...
Eight Kate Spain quilts...
Seven coins quilts...
Five Grinch quilts..
Four "When the Stars Align" quilts...
Three Joel Dewberry quilts...
Two Martinique quilts...
And one very large T-shirt Quilt!
Yes, it has been a very busy and productive year!
Linking up with Thank Goodness It's Finished Friday at Sew Fresh Quilts, and Can I Get A Whoop Whoop at Confessions of a Fabric Addict.
Today's entry in my Twenty-Five Quilts blogging challenge is a Christmas quilt made from Joy by Kate Spain for Moda fabrics.
I always love Kate Spain's Christmas collections, so I bought the charm packs, backing, and binding fabric when they were released in the summer of 2012. I had every intention of completing the project that summer!
I finally cracked open the charm packs over Thanksgiving 2013 and made the quilt top that weekend!
The tree fabric on the back is my favorite print in the collection -- I love how it looks both modern and retro!
I used four charm packs to make it a nice-sized lap quilt (approx 52 x 60 inches).
I often have customers order quilts to showcase some family photos. I use my Hip to Be Square pattern, which is a great way to showcase the images in the block centers. (Note: I've purposely blurred the photos in the following images since this was a customer quilt).
My favorite product for printing the photos is Printed Treasures fabric sheets:
They are fairly expensive, but I usually buy them at Joann's with a coupon. I've found them to print the best quality images, and they seem to hold up well in the wash.
This particular quilt was made out of the Cuzco collection by Kate Spain. I love the way the fabrics work with the colors in the photos.
Finally -- a new pattern for the shop is ready!
I really like to gear my patterns toward making the most of precuts. This pattern uses one layer cake, and some background fabric, to make three different 40" square baby quilt designs.
The patterns are based on enlarged quilt blocks (hence the name "Baby Blocks!") so they go together really fast -- perfect for when you need a baby gift in a hurry!
As a bonus, I have included instructions on making three pillows in the same designs, using one charm pack and less than a yard of background fabric.
The pattern is now available for purchase in my Etsy shop, as well as my Craftsy shop!
I've got some other patterns in the works, so I hope to have more to share soon!
Remember this stack of quilts I blogged about in June?
At the beginning of June, I issued myself a challenge to quilt a stack of 20 flimsies (finished tops) before the end of the month. I met that goal, but it left me with a stack of bindings to do!
Earlier this month, I unofficially pledged to finish the remaining bindings by the end of October. I really didn't think I would meet that goal, but I'm happy to report that the final binding stitches were put into the last quilt tonight!
This quilt was the oldest of my flimsies -- I made it over four years ago when I was testing out blocks for our guild's block of the month program.
Here are a couple of other bindings I finished this week:
A Modern Meadow quilt (top was completed Summer 2012)
A coins quilt featuring Groovy Guitar fabrics
And a Central Park flying geese quilt (top was completed in Summer 2012)
It feels great to have somewhat of a "clean slate", and now I'm ready for some new projects!
Given my love of Kate Spain fabrics, it is not a surprise that another one of her collections would be part of my "stash hoarding". Fandango was her second collection for Moda Fabrics, and I love the soothing color palette and Art Deco feel of the fabrics.
I really love to pair the Fandango fabrics with an ivory solid -- so pretty!
However, I also like the way this jelly roll quilt came out: (pattern is Jelly - Filled by Thimbleblossoms
Such a lovely collection-- it's still hard to resist those elusive precuts when I come across them!
Wow -- I didn't realize how much time had passed since my last post. My silence is certainly not due to lack of things to show -- I have been sewing up a storm! Get ready for a picture-heavy post!
This past week, I finished up four quilt bindings while I was away at a conference. First up is All Hands on Deck by Dear Stella:
Good Fortune (Kate Spain, Moda Fabrics):
I was able to use almost all of my scraps on the back -- this project was part of my personal "use it up" summer challenge.
Midwest Modern (Amy Butler)-- this quilt had been planned at least two years ago -- I'm glad to have it finally completed!
Les Amis (Patti Sloniger, Michael Miller Fabrics) -- one of the four Les Amis quilt tops I posted about here.
When I returned from the conference, I finished these matching Ahoy Matey pillow shams for a customer:
And maybe get these sewn into a top (Seaside, Riley Blake Fabrics)
I'm also giving myself some blogging homework -- I'm planning a follow up to my Stash Hoarding Series that I did last September. Stay tuned!
Linking up to Finish It Up Friday and Needle and Thread Thursday.