I received a comment on yesterday's post inquiring about my quilting machine, and I thought it would make a good topic for a post! (My apologies for the bad lighting in the photos).
I purchased my Viking Mega Quilter and frame about five years ago at the Vermont Quilt Festival. (If you're in the market for a quilting machine set up, I highly recommend going to a quilt show that will have several vendors -- you can test out the various types, and often get a great deal on a "show special".
I had been eyeing the Mega Quilter (which I believe is similar to the Pfaff Grand Quilter) for quite a while. I was tired of wrestling quilts through the throat of my sewing machine and kneeling on the floor basting while still ending up with annoying tucks in the backing. I also was not a fan of straight stitching, and all my attempts at free motion quilting had failed miserably.
I have always owned Viking machines and liked them, and I knew that the mid arm Mega Quilter was an affordable option in comparison to a long arm machine. I paid around $2000 for the machine, frame, and Cruise Control set-up. The newer Mega Quilter and frame set ups are pricier than this, however.
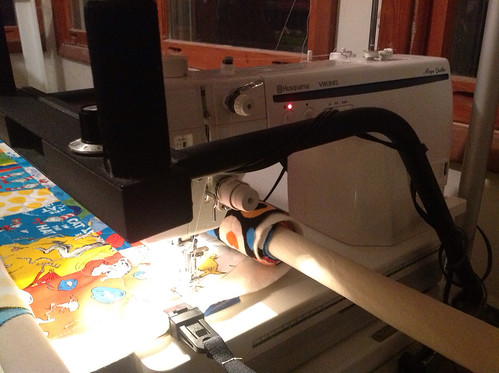
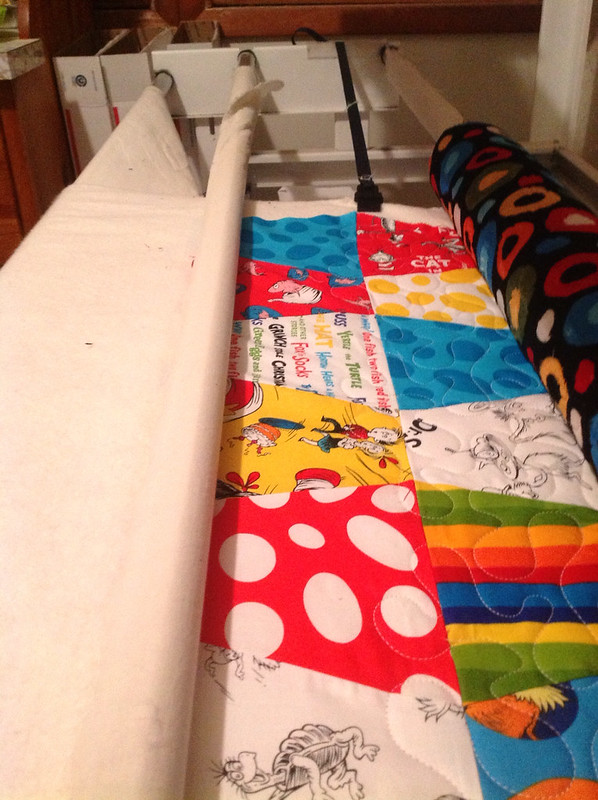
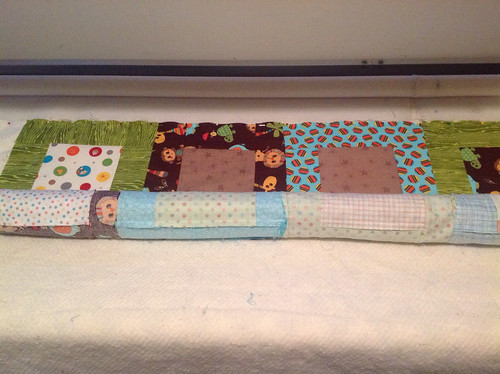
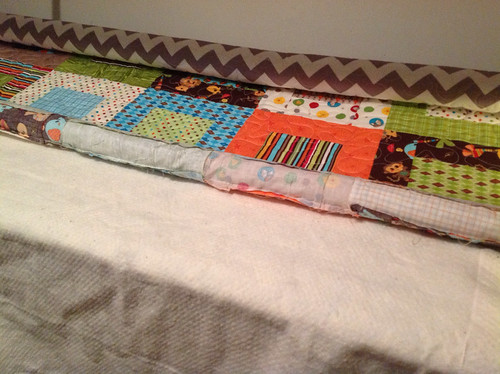
The machine sits on a carriage in the frame, and there are three bars on the frame. You roll the backing on one, the top on another, and the third one is the take-up roller which holds all three layers after they are quilted. You also need side clips to support the backing and batting during quilting.
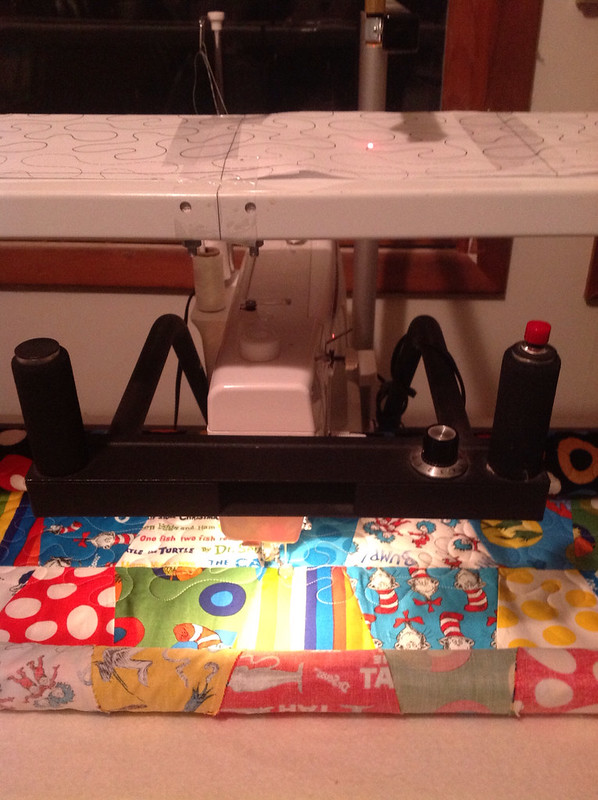
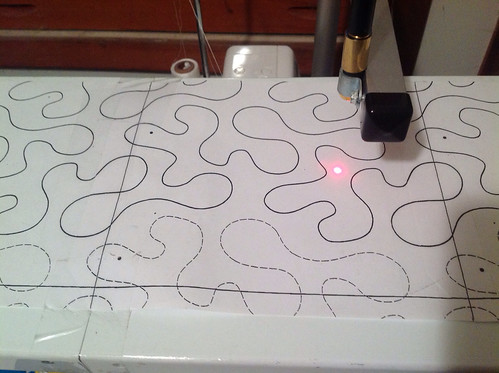
A shelf above the machine holds a pantograph pattern that you follow with a laser pointer.
The fabric is pinned to muslin, which is attached to the bar with Velcro.
When I first started quilting with the machine, I used the Cruise Control device. This uses two sensor devices that ride on the carriage vertically and horizontally, and measure your speed as you "drive" the machine on the frame. The Cruise Control then regulates the stitch length by telling the motor to speed up or slow down.

About a year ago, my Cruise Control suddenly stopped working (it turned out to be a wire that got disconnected, as I just recently discovered!). However, I was pleasantly surprised to find out that after four years of practice, my stitches were fine without the help of Cruise Control!
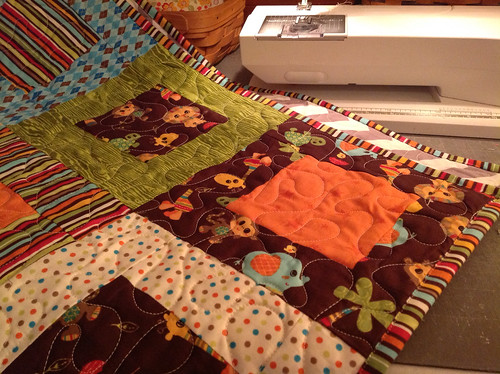
The Mega Quilter has definitely been a terrific purchase for me. However, there are some limitations. Because it is a mid arm rather than a long arm, the actual space for quilting is fairly narrow (about 4 1/2 inches ) which limits the quilting design possibilities. Also, my frame will only extend to 100 inches, which means I cannot quilt king size quilts on it. Finally, it does not lend itself well to free motion quilting as it is difficult to see where you are stitching.
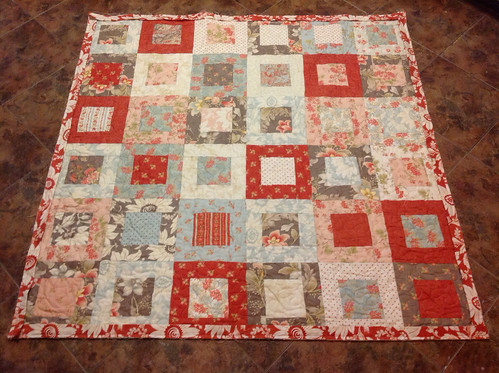
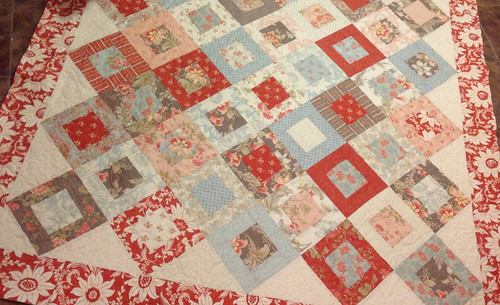
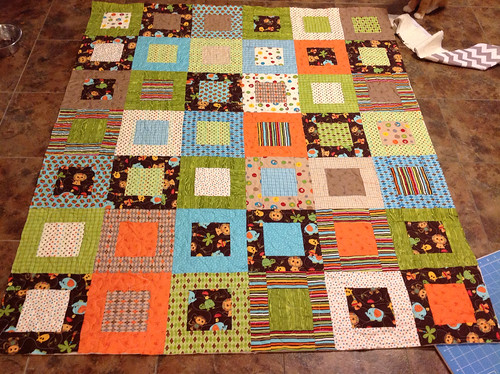
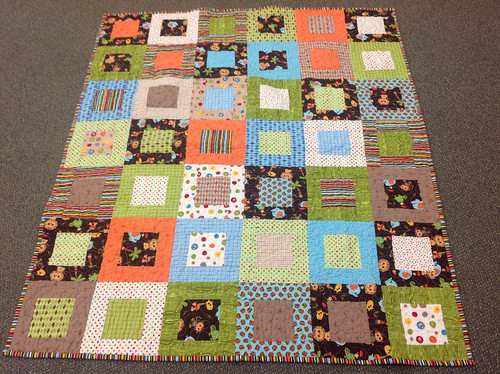
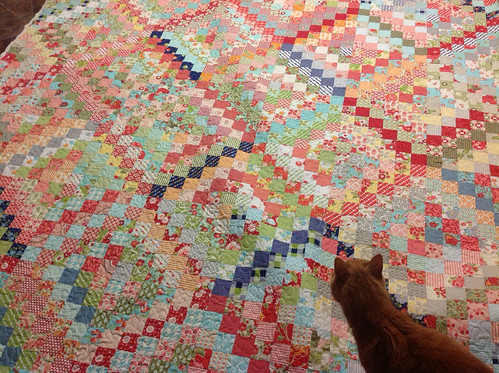
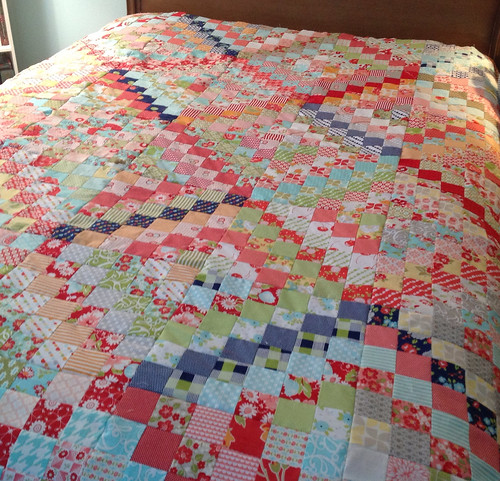
I have quilted 100's of quilts on the machine, and I am pleased with how well it has held up. The only issues I have had were with the frame itself, as it was a cheap imitation of the frame Viking recommends for the machine. If I ever decide to upgrade, I will most likely keep the Mega Quilter machine for piecing, as it is an industrial speed machine that can do 1600 stitches per minute.
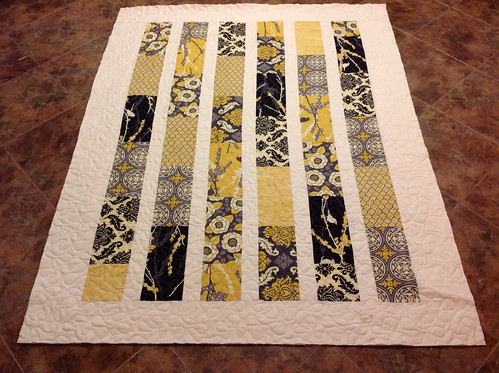
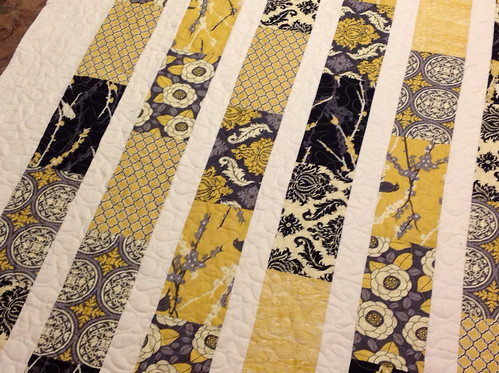
Someday, I would like to upgrade to a set-up with a larger frame option and quilting throat space, such as the Tin Lizzie machines. But for the time being, I am happy with how quickly I can finish a quilt with the basic meander stitch. It does take a while to pin baste the three layers on the rolls, but certainly less time than basting a quilt on the floor. You still have to be careful to keep the backing layer smooth to avoid tucks, but they are much rarer if everything is loaded correctly.
I have also found it easy to maintain and troubleshoot. The vendor I purchased the machine from was not great with customer service, so I ended up assembling the frame and learning to use it completely on my own.
If you'd like to read more about the features of the Mega Quilter, check out
this link.
To learn more about the Tin Lizzie options, check out this link.