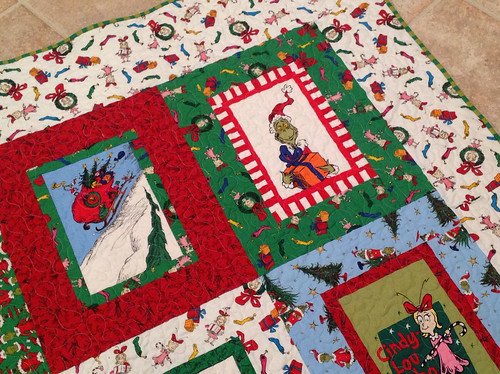
Since we're having a bit of this today....
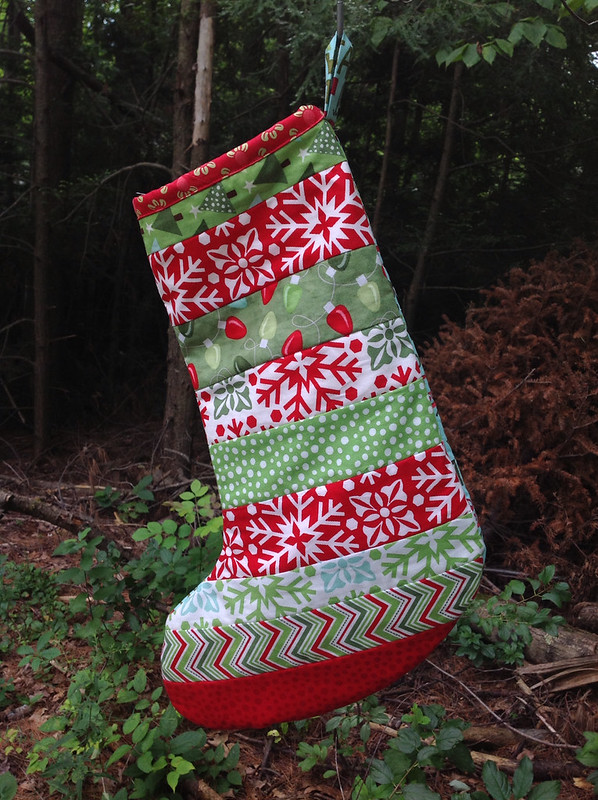
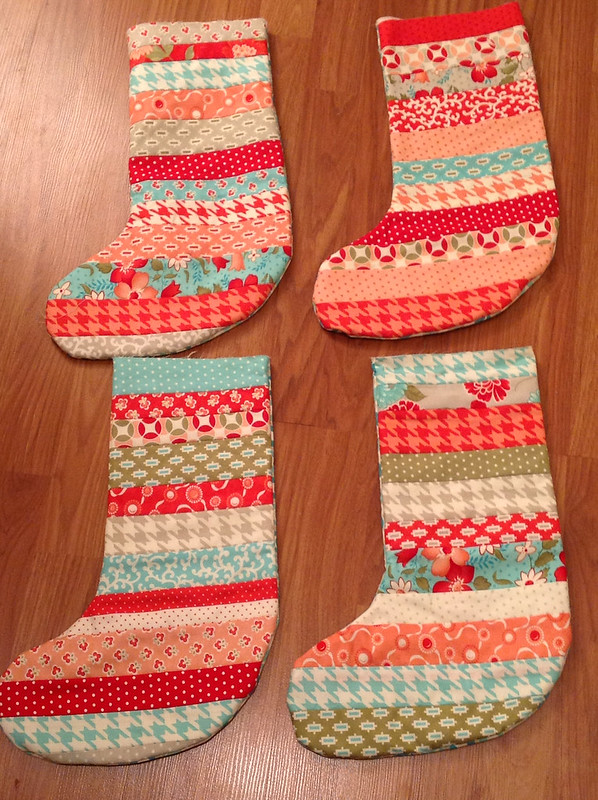
...I thought it would be the perfect day to share my first-ever tutorial! I've been making some quilt-as you go patchwork stockings and promised in an earlier post that I 'd share what has worked for me!

First, a disclaimer: You will need to provide your own stocking template. You can use a ready-made stocking as a template (be sure to add 1/4 inch around the finished edge for seam allowances), or use a template from another pattern, or even draw your own. I used the stocking shape from
this pattern as my template. You could also look online for free stocking templates.
Here's what you'll need for the project:
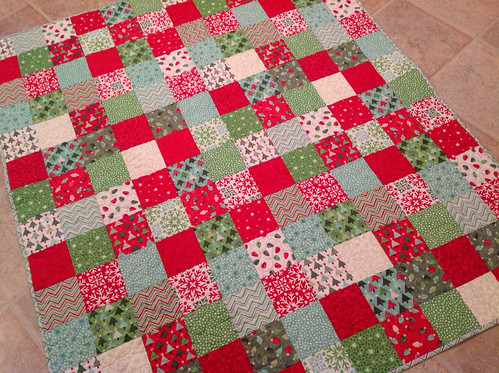
- Some scrap strips (jelly rolls or Moda scrap bags work great!
- Batting pieces (large enough to cut two stocking shapes)
- Backing fabric (large enough to cut one stocking shape)
- Lining fabric (two stocking shapes)
- Piece of leftover binding (2 1/2" double-fold straight of grain)
First, you'll need to trace your stocking pattern onto a piece of batting. Be sure to trace it with the toe facing the same direction you would like it to be in the finished product. Do not cut out. (By the way, you'll see some zig zag stitching on my batting -- I piece batting together by butting two trimmed edges against each other and securing with the zig zag stitch.

Next, stitch on the drawn line with a straight stitch. The reason for this step is that it will transfer the shape easily to the reverse side so that you'll be able to cut it out once you've covered it with strips.
Place your first strip in the center. Be sure the edges extend a little past the drawn line.
Place your second strip next to your first strip to make sure it will be long enough to cover the template.
Put the second strip on top of the first strip, right sides together. Stitch a quarter inch seam through both strips AND the batting.
Unfold the second strip and press. Your stocking should look like this:

Continue adding strips. As you get near the toe area, be sure to cut your strips long enough to cover the drawn shape when unfolded. In fact, you should cut them a little longer just to be safe!
Trust me -- you don't want to end up with this-- see how the red strip falls short of the drawn line after stitching? That means seam ripping will follow!
Continue to add strips until your entire stocking shape is covered.

Now, flip the piece over and use the outline you stitched in the first step to cut out the shape. Cut right on the stitched line.
When you're done cutting...
...flip it over and admire your work!
Now, layer another piece of batting, your backing fabric, and your quilted stocking front. Backing and stocking front should be right sides together. If you wish, you can omit the batting, but I like the extra body it adds to the stocking. This batting piece should be on the bottom. Pin the pieces together.
You don't need to cut out the stocking shape from the backing and batting yet. Stitch through all layers 1/4 inch from edge of stocking front. Be sure to backstitch at the beginning and end, and leave the top opening of the stocking unstitched.

Trim backing and batting even with stocking front and clip around the curved edge, being careful not to clip stitching line.

Turn your stocking inside out, and press.

Cut two stocking pieces from lining fabric; sew together with a 1/4 inch seam and clip curves.
It was hard to get a picture of this next step! Leaving the lining wrong side out, stick your hand inside like an oven mitt, and push the lining inside the stocking. Make sure the toe parts end up in the same place! (Again, trust me on this!)
Pin raw edges together at the top, matching seams. Baste.
At this point, you can add your hanger. You can use a piece of ribbon, or you can make your own tab. Cut a 2 1/2" x 5" rectangle, fold in half right sides together and stitch 1/4 " seam on long edge (secure beginning and end with backstitch).
Turn tube right side out, press, fold in half with raw edges together. Stitch to stocking, lining up raw edges (I like to center it on the heel seam).

Turn stocking inside out. Sew your leftover binding strip to the top. You may want to attach it first with a basting stitch, as in order to join the ends diagonally as you would on a quilt, you'll need to have some of it free, and I found that every time I did this step, I needed to detach more than I thought to maneuver it in order to join the ends. Once the ends are joined, you can resew the binding edge.
Turn stocking right side out, fold binding over, and machine stitch to secure it. Press stocking, then admire and enjoy!